Minecraft Java FPS Boost: The Settings and JVM Changes That Actually Move the Needle
Minecraft Java is more CPU-bound than most games, which is why GPU advice barely helps. Here is what each video setting really costs, how much RAM to actually allocate, and what the Sodium mod does — with the F3 screen as your before-and-after scoreboard.
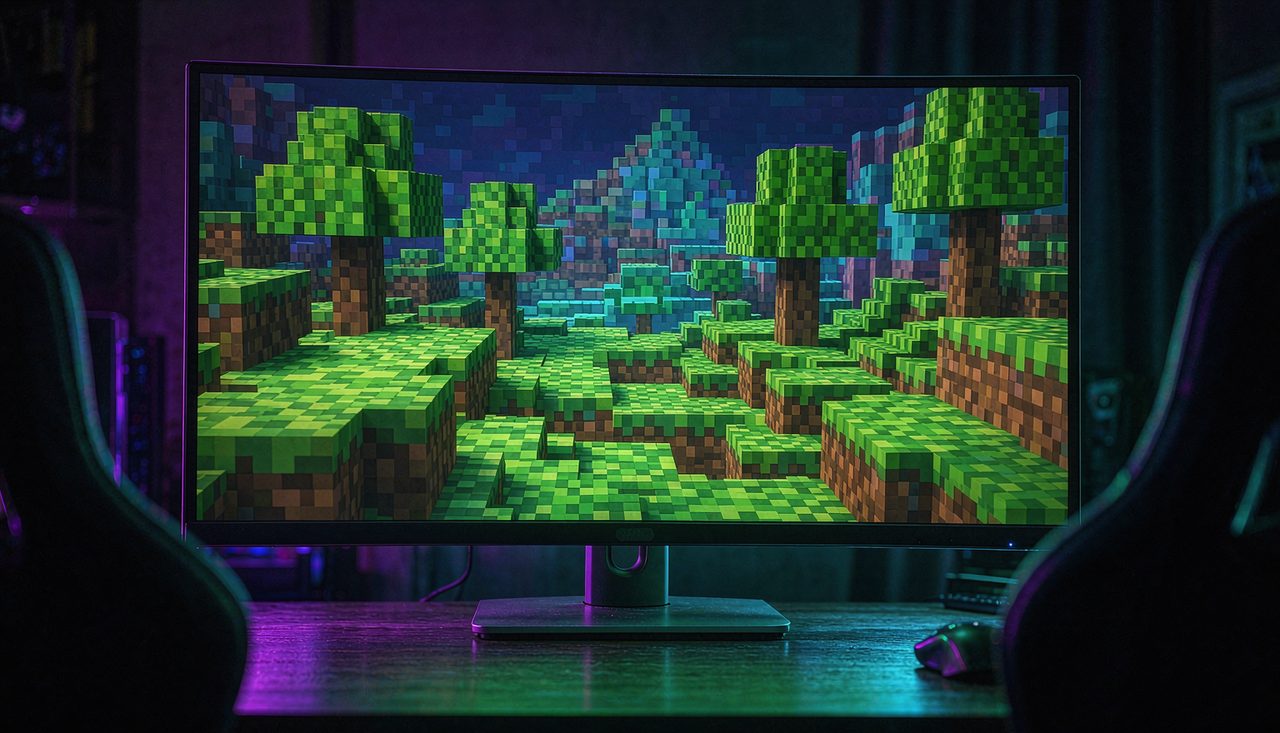
Minecraft Java Edition defeats the usual PC gaming advice, because it is mostly CPU-bound: the frame rate depends far more on how fast one core can process chunks and entities than on the graphics card. That is why the "lower your resolution" and "update your drivers" tips that fix other games barely move Minecraft. The levers that do move it are specific settings in the video menu, one JVM argument, and — for many players — a single performance mod. Here is each one, with the reasoning, so you can decide what to trade away.
Your measuring tool is built in: press F3 to open the debug screen and read the FPS counter in the top-left. Record your number in the same spot in your world before changing anything, or you will never know which change mattered. Menus below are for recent Java versions (1.20+); option names occasionally shift between releases, but the heavy hitters have kept their names for years.
Render distance: the setting that dominates everything else
Open Options → Video Settings. Render Distance is measured in chunks (16-block columns), and the cost is not linear — it is roughly squared, because lowering the distance shrinks the loaded area in both directions. Going from 16 chunks to 8 loads about a quarter of the terrain volume, which is why this one slider routinely doubles FPS while every other setting combined moves it ten or twenty percent.
On a mid-range laptop, 8–10 chunks is a reasonable starting point. Since version 1.18 there is a separate Simulation Distance slider: it controls how far away crops grow, mobs spawn and despawn, and redstone updates — the game logic that makes your farms tick. Lowering render distance without touching simulation distance keeps farms running normally while unloading distant terrain graphics, so if you rely on farms, lower render distance first and only reduce simulation distance if you must (many technical players run simulation at 10 or below without issues).
The rest of the video menu, ranked by real impact
- Graphics: Fast vs Fancy — Fast removes leaf transparency and some weather rendering. Modest but real gain; leaves look flat.
- Clouds: OFF — clouds are re-rendered as geometry every frame. Off is free FPS, and clouds are clouds.
- Particles: Minimal — potion effects, explosions, and food particles stop rendering. Big gains in mob-heavy or potion-heavy moments, and the setting most players never change back.
- Smooth Lighting: OFF — disables per-vertex ambient shading. Noticeable visual flattening, moderate FPS gain.
- Biome Blend: 1 (lowest) — reduces color-blending samples across biome borders. Small visual cost, useful on weak CPUs.
- Entity Distance: 75% — mobs and items beyond that range stop rendering. Combined with Entity Shadows: OFF, this is the fix for base-and-livestock lag.
- Mipmap Levels: 0 or 1 — distant textures lose their smoothing. Minor gain, free to try.
- V-Sync: OFF — with vsync on, your frame rate is locked to the monitor refresh and you may feel input lag instead of seeing low FPS. If you cap frames instead, do it with the Max FPS slider a little above your monitor's refresh rate.
If stuttering rather than low average FPS is your actual symptom, the causes are different and our stuttering checklist applies just as well to Minecraft as to any other title.
The JVM argument most players get wrong: memory
The vanilla launcher by default allocates 1 GB of RAM to Java — too little for heavily modded play and for large render distances, which forces constant garbage-collection churn that looks exactly like stutter. The fix: open Minecraft Launcher → Installations → (your install) → Edit → More Options, and find the JVM arguments box. Change -Xmx1G to -Xmx4G.
Note what not to do: allocating 8 or 16 GB makes things worse. Java's garbage collector pauses all work to clean up, and the bigger the heap, the longer each pause and the longer objects sit unused before collection. 4 GB is the sweet spot for vanilla-plus; even large modpacks rarely benefit beyond 6–8 GB unless the pack's own guidance says so. This is one of the most repeated pieces of bad advice in the Minecraft community, and the F3 screen will prove it to you: memory that climbs steadily toward the cap between stutter spikes means the allocation is too small; long freezes with memory mostly empty mean something else is wrong.
Sodium: the one-mod upgrade
If you are open to mods, Sodium is the single largest FPS improvement available to Minecraft Java — a complete rewrite of the chunk renderer that typically delivers multiples of vanilla performance at identical settings, with better frame pacing. Installation path:
- Install a mod loader (Fabric is Sodium's native home; install the loader version matching your game version).
- Download Sodium from Modrinth or CurseForge — only these two sources, matched exactly to your game version, dropped into the
modsfolder. - Launch through the loader profile the installer created.
Mod risks, stated plainly: Sodium is client-side (it changes rendering, not gameplay), which most servers permit — but server rules are set per-server, and anticheat software on competitive or heavily moderated servers can flag any modded client. Never download mods from random file sites; Minecraft-adjacent malware almost always arrives bundled with "free FPS" downloads. Mods also update slower than the game itself, so after a game update the safe move is waiting for the loader and mod versions that match.
A five-minute test sequence
- Stand in the same spot in your world, press F3, and write down the FPS.
- Set render distance to 8, clouds off, particles minimal. Write down the FPS again.
- If your symptom was stutter, change
-Xmx1Gto-Xmx4Gand repeat. - If you still need more, install Sodium and re-test at your original render distance.
Keep changes one at a time so the F3 counter tells you exactly which one paid. And when your frame rate is finally healthy, the next bottleneck in competitive feel is usually display-side — our input lag guide covers the rest of the chain, and the tools page has utilities for tracking frame-time problems over a whole session.